
Rheem Tankless Water Heater Installation Instructions: A Comprehensive Plan
Unlock the full potential of your Rheem unit with this detailed guide, covering installation, operation, and troubleshooting for optimal performance and longevity.
Rheem tankless water heaters represent a significant advancement in home comfort, offering on-demand hot water and eliminating the energy waste associated with traditional storage tank systems. Unlike conventional heaters that continuously heat and store water, Rheem tankless models activate only when hot water is needed, providing a consistent and reliable supply.
This installation guide is designed to provide a comprehensive, step-by-step process for safely and effectively installing your new Rheem tankless water heater. Proper installation is crucial for optimal performance, efficiency, and longevity of the unit. Understanding the specific requirements of your model, including gas type and venting options, is paramount. This manual will empower you to maximize the benefits of your investment, ensuring years of trouble-free hot water.
Safety Precautions & Warnings
Prior to commencing any Rheem tankless water heater installation, strict adherence to safety protocols is absolutely essential. Always disconnect the gas and electrical supply before beginning work. Improper installation can lead to fire, explosion, carbon monoxide poisoning, or electrical shock – potentially fatal consequences.
Ensure adequate ventilation during installation, particularly when working with gas lines. Wear appropriate personal protective equipment (PPE), including safety glasses and gloves. If you are unfamiliar with plumbing, electrical work, or gas line connections, immediately consult a qualified and licensed professional. This guide provides instructions, but does not substitute for professional expertise. Failure to follow these warnings voids the warranty and may create hazardous conditions.
Tools and Materials Required
Successful Rheem tankless water heater installation demands a comprehensive toolkit and appropriate materials. Essential tools include pipe wrenches, adjustable wrenches, a gas pipe sealant applicator, a multimeter, a level, drill with various bits, and a screwdriver set. Necessary materials encompass gas piping (black iron or approved alternative), water piping (PEX, copper, or CPVC), venting components (concentric or separate intake/exhaust), electrical wiring, wire connectors, and Teflon tape.
Furthermore, you’ll require a condensate drain line (for condensing models), mounting hardware, and potentially, a gas shut-off valve. Confirm compatibility of all materials with Rheem’s specifications. Having these items readily available streamlines the process and ensures a secure, compliant installation. A bucket and towels are also recommended for minor water spillage.
Unboxing and Inspection
Upon delivery, carefully inspect the Rheem tankless water heater’s packaging for any signs of damage during transit. Document any visible dents, scratches, or punctures with photographs before opening. Once unboxed, thoroughly examine the unit itself for similar damage. Compare the received model number and specifications against your purchase order to ensure accuracy.
Verify that all components listed in the included parts list are present. This includes the unit, mounting bracket, installation manual, and any included accessories. Report any missing or damaged parts to the retailer or Rheem customer support immediately. Do not attempt installation with a damaged or incomplete unit; it could void the warranty and compromise safety.
Understanding Rheem Tankless Models
Rheem offers a diverse range of tankless water heaters, categorized primarily by efficiency and fuel type. Understanding these distinctions is crucial for correct installation and optimal performance. Key to this is differentiating between condensing and non-condensing models. Condensing units are significantly more efficient, extracting additional heat from exhaust gases, but require a condensate drain line.
Furthermore, Rheem tankless heaters are designed for specific gas types – natural gas or propane. It’s vital to confirm your home’s gas supply and select a compatible unit. Converting between gas types is generally not possible and will void the warranty. Consider the BTU input and flow rate capabilities of each model to match your household’s hot water demands, ensuring sufficient hot water delivery during peak usage.
Condensing vs. Non-Condensing Models
Rheem tankless water heaters come in two primary types: condensing and non-condensing. Condensing models boast higher efficiency – often exceeding 90% – by capturing and reusing heat from exhaust gases that would otherwise be wasted. This process creates condensate, necessitating a dedicated drain line installation for proper disposal.
Non-condensing units, while less efficient (typically around 80-85%), are simpler to install as they don’t require a condensate drain. The choice depends on your priorities: long-term energy savings and environmental impact favor condensing models, while simpler installation and lower upfront cost might lean towards non-condensing. Proper venting is critical for both, but condensing units often require PVC or CPVC venting due to lower exhaust temperatures.
Gas Type Compatibility (Natural Gas & Propane)
Rheem tankless water heaters are designed to operate on either natural gas or propane, but never interchange components between the two fuel types. Each model is specifically configured for one gas type during manufacturing. Confirming compatibility is crucial before installation; using the incorrect fuel can cause dangerous malfunctions and void the warranty.
Propane units require a different regulator and orifice sizes compared to natural gas models. The gas supply line must also be appropriately sized for the BTU input of the heater, considering the gas type’s heating value. Always consult the installation manual to verify the correct gas connection components and sizing requirements. Incorrect setup can lead to inefficient operation or, in severe cases, a fire hazard.
Pre-Installation Planning
Thorough pre-installation planning is essential for a successful and safe Rheem tankless water heater installation. Begin by assessing your home’s existing gas and water infrastructure. Determine the appropriate unit size based on your household’s hot water demand, considering the number of occupants and simultaneous usage. Carefully evaluate venting options, ensuring compliance with local codes and the manufacturer’s specifications.
Verify adequate gas supply pressure and line sizing to support the heater’s BTU input. Inspect water line piping material for compatibility and potential corrosion. Plan for electrical connections, ensuring a dedicated circuit with the correct voltage and amperage. Obtain necessary permits and approvals from local authorities before commencing any work; this proactive approach avoids potential delays and ensures a compliant installation.
Venting Requirements & Options
Proper venting is critical for safe and efficient operation of your Rheem tankless water heater, expelling combustion gases. Rheem offers several venting options, including concentric and separate intake/exhaust systems. Concentric venting utilizes a pipe-within-a-pipe design for simultaneous intake and exhaust, simplifying installation. Separate venting requires dedicated pipes for each function, offering greater flexibility in complex installations.
Material choices include PVC, CPVC, and stainless steel, dictated by local codes and heater model. Vent pipe diameter and length are crucial; exceeding maximum limits reduces efficiency and poses safety risks. Ensure proper slope for condensate drainage in condensing models. Always adhere to manufacturer’s specifications and local regulations regarding vent termination locations, avoiding obstructions and ensuring adequate clearance from windows and air intakes.
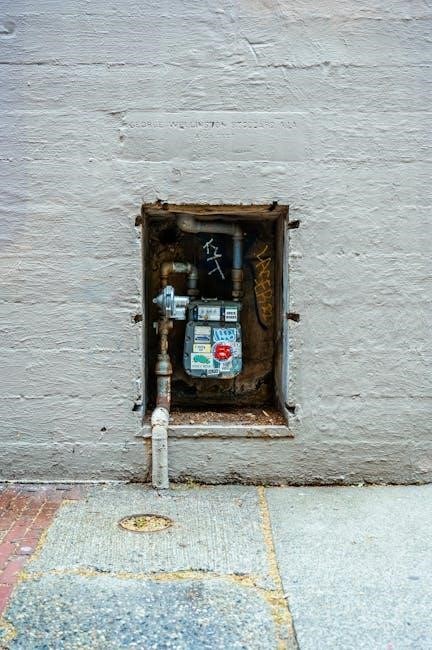
Gas Line Sizing & Requirements
Correct gas line sizing is paramount for optimal Rheem tankless performance, delivering adequate fuel without pressure drops. Determine the BTU input of your model and the length of the gas line run. Use a gas sizing calculator, considering pipe material (black iron or CSST), diameter, and fittings to calculate the appropriate pipe size. Undersized lines restrict gas flow, causing performance issues; oversized lines are unnecessary and costly.
Rheem requires a dedicated gas supply line, separate from other appliances. Install a manual shut-off valve upstream of the heater for safety and maintenance. Always use a qualified gas fitter to perform the connection, ensuring leak-free joints with approved pipe dope or Teflon tape. Verify gas type compatibility (natural gas or propane) before connecting.
Water Line Considerations (Piping Material)
Selecting appropriate piping material is crucial for a reliable Rheem tankless water heater installation. Common choices include PEX, copper, and CPVC, each with pros and cons. PEX is flexible, cost-effective, and freeze-resistant, but check local codes for approval. Copper is durable and widely accepted, but more expensive and requires soldering skills. CPVC offers heat resistance and ease of installation with solvent welding.
Rheem recommends using a minimum ¾-inch pipe diameter for most residential applications to ensure adequate flow. Avoid galvanized steel, as it can corrode and restrict water flow. Install dielectric unions to prevent galvanic corrosion when connecting dissimilar metals. Flush the water lines thoroughly before connecting to remove debris and contaminants.
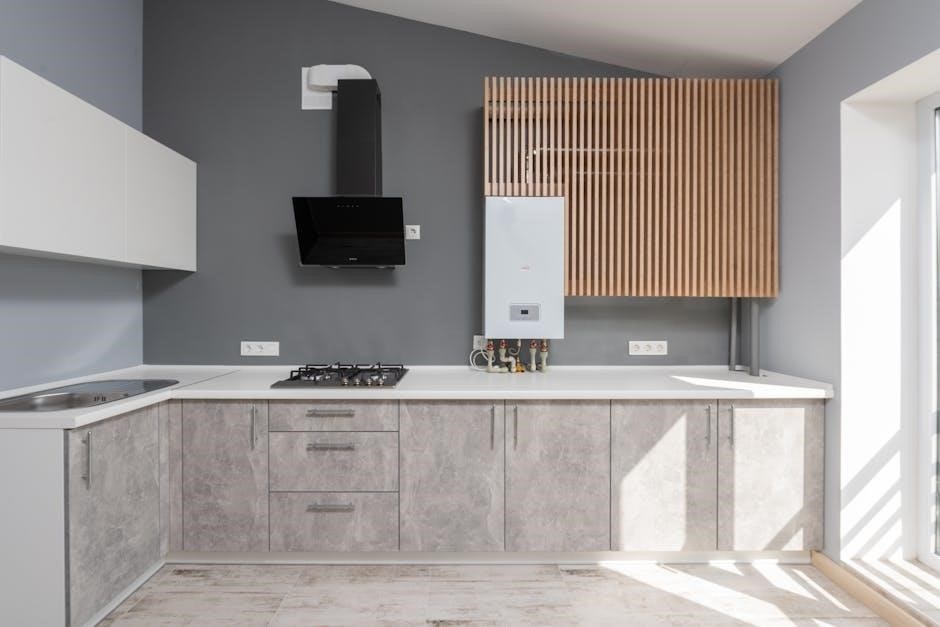
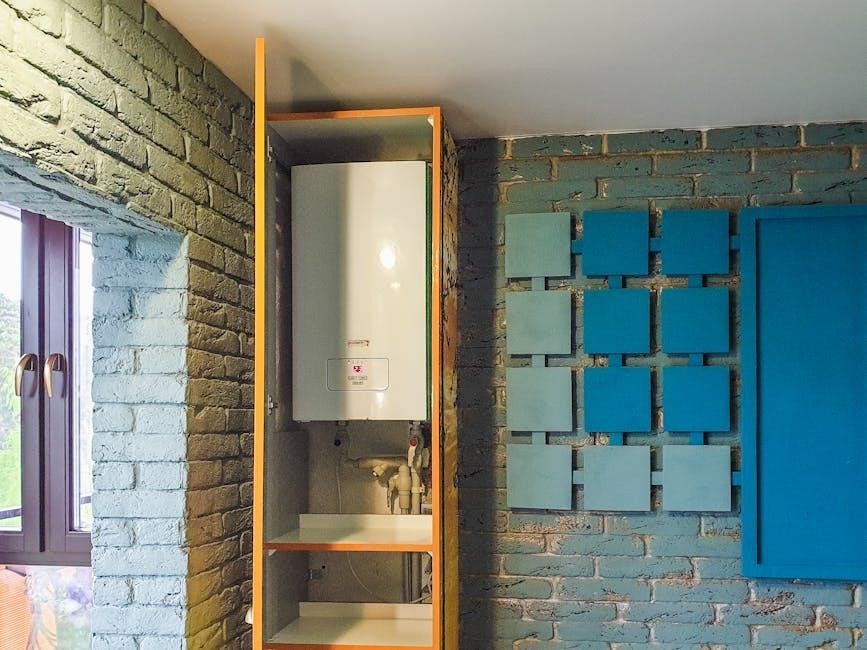
Mounting the Rheem Tankless Water Heater
Proper mounting is essential for safe and efficient operation. Choose a sturdy, level wall capable of supporting the unit’s weight, even when full of water. Rheem recommends mounting the heater as close as possible to the venting system to minimize venting length. Ensure adequate clearance around the unit for servicing and maintenance – consult the installation manual for specific dimensions.
Use appropriate wall anchors and screws rated for the weight of the heater. Verify the mounting surface is free of obstructions and flammable materials. Maintain a minimum distance from the floor as specified by Rheem. Level the unit using shims if necessary before securing it firmly to the wall.
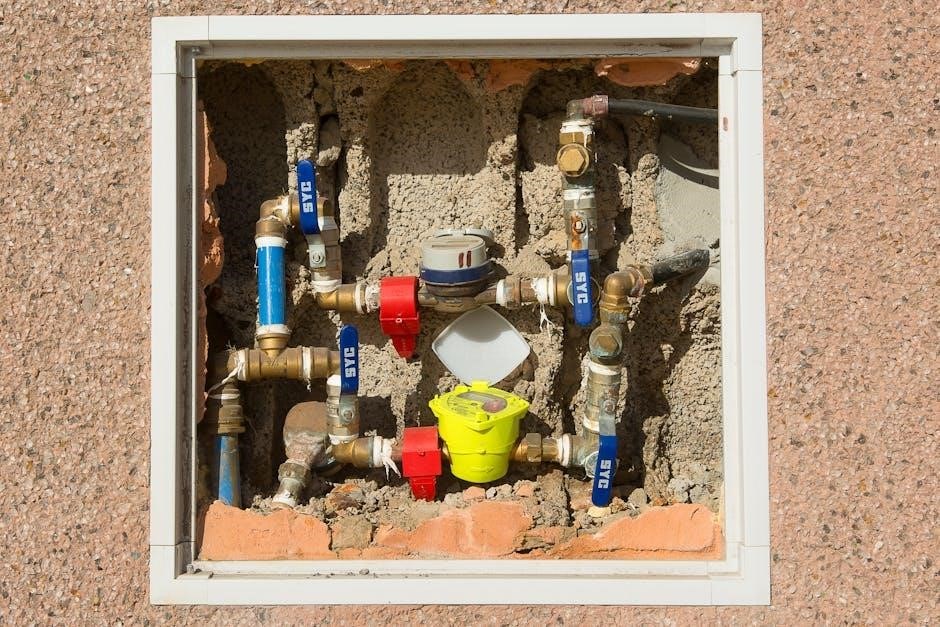
Gas Line Connection
Crucially, a qualified gas technician must perform this step. Always shut off the gas supply before beginning. Use a properly sized gas line – undersizing can cause performance issues, while oversizing is wasteful. Apply pipe joint compound specifically designed for gas lines to all threaded connections. Ensure all connections are leak-free using a soap and water solution; never use a flame.
Rheem requires a shut-off valve installed upstream of the unit for easy servicing. Follow local codes regarding gas line materials and installation practices. Proper grounding is vital to prevent electrical hazards. Double-check all connections before restoring gas supply and performing a final leak test.
Water Line Connection
Before connecting water lines, flush the system to remove debris. Utilize dielectric unions to prevent galvanic corrosion, especially when connecting to copper piping. Employ appropriate piping materials – PEX, CPVC, or copper are commonly used, adhering to local plumbing codes. Ensure tight, leak-proof connections using Teflon tape or pipe dope suitable for potable water systems.
Install a sediment filter upstream of the unit to protect it from mineral buildup. Rheem recommends using flexible water connectors for easier installation and vibration absorption. Verify proper water pressure within the unit’s specified range. Thoroughly inspect all connections for leaks after restoring water supply, and address any issues immediately.
Venting System Installation
Proper venting is crucial for safe and efficient operation. Always follow Rheem’s specific venting guidelines for your model. Select the appropriate venting material – typically stainless steel – and ensure it’s compatible with the unit. Maintain correct vent pipe diameter and slope as specified in the manual to prevent condensation buildup and ensure proper draft.
Seal all vent connections securely with high-temperature sealant. Inspect the vent pathway for obstructions and ensure adequate clearance from combustible materials. Adhere strictly to local codes regarding vent termination height and location. Verify proper draft after installation to confirm effective exhaust gas removal.
Concentric Venting Installation
Concentric venting utilizes a pipe-within-a-pipe design for both intake air and exhaust expulsion. Ensure the outer pipe is securely connected to the unit and extends to the termination point, maintaining proper clearances. Carefully slide the inner exhaust pipe within the outer intake pipe, ensuring no obstructions exist.
Seal the concentric vent connection to the heater using the provided gaskets or high-temperature sealant. Verify correct installation by checking for proper airflow and exhaust flow. Pay close attention to the maximum allowable vent length specified in the Rheem installation manual. Inspect for any gaps or leaks that could compromise safety and efficiency.
Separate Intake & Exhaust Venting
When utilizing separate intake and exhaust venting, two dedicated vent pipes are required. The intake pipe draws fresh air from outside, while the exhaust pipe expels combustion gases. Ensure both pipes are correctly sized according to the Rheem installation manual and local codes.
Maintain proper separation between the intake and exhaust vent terminations to prevent re-introduction of exhaust gases. Securely connect both pipes to the unit using appropriate fittings and sealant. Verify proper slope for condensate drainage in the exhaust pipe. Inspect for any obstructions or damage that could impede airflow. Adhere strictly to the manufacturer’s guidelines for vent material and installation practices.
Electrical Connection
Before commencing the electrical connection, absolutely disconnect power at the main breaker; Rheem tankless heaters require a dedicated circuit, typically 120V or 240V, depending on the model. Consult the unit’s specifications and local electrical codes for precise requirements. Use appropriately sized wiring and a dedicated circuit breaker.
Connect the wiring to the designated terminals on the unit, ensuring a secure and tight connection. Proper grounding is crucial for safety; connect the ground wire to the grounding terminal. Double-check all connections before restoring power. Some models may require a neutral wire. Verify voltage matches the unit’s requirements before powering on. Always prioritize electrical safety during this step.
Initial Startup & Flushing
Prior to the first use, a thorough flushing process is essential to remove any debris or manufacturing residue from the heat exchanger and water lines. Carefully open the cold water inlet valve, allowing water to flow through the unit and out the hot water outlet. Continue flushing for several minutes until the water runs clear and free of particles.
Next, with the water still flowing, turn on the gas supply to the unit. Follow the manufacturer’s instructions for ignition. Observe for any gas leaks during startup. Allow the unit to run for a short period, continuing to flush the system. This initial flush ensures optimal performance and protects the longevity of your Rheem tankless water heater.
Setting the Temperature & Flow Rate
Adjusting the temperature and flow rate is crucial for comfortable and efficient hot water delivery. Rheem tankless heaters typically feature digital controls allowing precise temperature settings, usually in increments of one degree Fahrenheit. Start with a moderate temperature, around 120°F (49°C), to prevent scalding and conserve energy.
Flow rate adjustments, often controlled via a dip switch or digitally, determine the amount of hot water delivered per minute. Higher flow rates provide more hot water but may reduce the maximum achievable temperature. Experiment to find the optimal balance between temperature and flow for your household’s needs. Refer to your specific model’s manual for detailed instructions.
Condensate Drain Installation (Condensing Models)
Condensing Rheem tankless water heaters produce acidic condensate as a byproduct of the combustion process, requiring a dedicated drain line. This line must be installed to safely dispose of the condensate and prevent damage. Use PVC, CPVC, or polypropylene piping, ensuring it’s properly sloped for gravity drainage – a minimum ¼ inch per foot is recommended.
The drain line should terminate at an approved drain, avoiding connection to potable water systems. Consider a condensate neutralizer kit to adjust the pH level before disposal, especially if local codes require it. Proper installation prevents corrosion and ensures the longevity of your heating system. Always consult the manual for specific drain line requirements.
Testing for Leaks
After completing all connections – gas, water, and venting – thoroughly inspect the entire system for leaks. Begin by carefully examining all gas line connections using a leak detection solution specifically designed for gas lines; never use an open flame. Next, turn on the water supply and meticulously check all water pipe connections, including unions and fittings, for any signs of dripping or moisture.
Pay close attention to the unit’s internal connections and the condensate drain line (if applicable). Run the water heater through a full heating cycle, observing for leaks under various operating conditions. Address any detected leaks immediately by tightening connections or replacing faulty components. A leak-free installation is crucial for safe and efficient operation.
Remote Control & Connectivity Setup
Many Rheem tankless water heaters offer remote control and connectivity features for enhanced convenience and control. Begin by installing the batteries in the remote control unit, if applicable, and following the pairing instructions in the user manual. For models with Wi-Fi connectivity, download the Rheem app to your smartphone or tablet.
Follow the in-app instructions to connect the water heater to your home’s Wi-Fi network. Once connected, you can monitor water temperature, adjust settings, and receive alerts remotely. Explore the app’s features to customize your experience and optimize energy usage. Ensure a stable Wi-Fi signal for reliable connectivity and functionality.
Troubleshooting Common Installation Issues
During Rheem tankless installation, some issues may arise. If the unit fails to ignite, double-check the gas supply and connections, ensuring the gas valve is fully open. Low water flow can indicate insufficient water line size or blockage; verify pipe diameter and flush the lines. Error codes displayed on the unit’s control panel require referencing the manual for specific solutions.
Venting problems, like improper slope or blocked vents, can cause operational issues; inspect the venting system thoroughly. Electrical connection errors may prevent startup; confirm correct voltage and wiring. If you encounter persistent problems, consult a qualified plumber or HVAC technician for assistance, avoiding self-repair that could void the warranty.
Rheem Warranty Information
Rheem tankless water heaters are backed by a comprehensive warranty, offering peace of mind to homeowners. The standard warranty typically covers the heat exchanger for a specified period, often ranging from 15 to 20 years, depending on the model. Other components, such as the electronics and controls, are usually covered for a shorter duration, typically 5 to 10 years.
Warranty coverage requires professional installation by a qualified technician, adhering to local codes and Rheem’s installation guidelines. Proper registration of the product within a designated timeframe is crucial to activate the full warranty benefits. Keep your proof of purchase and installation records for warranty claims. Refer to the official Rheem warranty documentation for complete details and limitations.
Local Codes and Permits
Before commencing any Rheem tankless water heater installation, it’s absolutely critical to verify and comply with all applicable local plumbing, gas, and electrical codes. Many jurisdictions require permits for water heater installations, ensuring safety and adherence to building standards. Contact your local building department to determine specific permit requirements and inspection procedures.
Venting requirements are often strictly regulated, dictating the type of vent pipe, its diameter, and termination location. Gas line installations must meet stringent safety standards, potentially requiring inspection by a licensed gas fitter. Electrical work should be performed by a qualified electrician, complying with the National Electrical Code. Failure to obtain necessary permits or adhere to codes can result in fines and safety hazards.
Post-Installation Maintenance
Regular maintenance is key to maximizing the lifespan and efficiency of your Rheem tankless water heater. Annually, it’s recommended to flush the unit to remove mineral buildup, especially in areas with hard water. This process helps prevent scale formation, which can reduce heating performance and potentially damage components.
Inspect the venting system for any obstructions or damage, ensuring proper exhaust flow. Check gas line connections for leaks using a soap and water solution – never use a flame! For condensing models, verify the condensate drain is clear and flowing freely. Consider professional servicing every few years for a comprehensive inspection and cleaning. Proper care ensures reliable hot water for years to come.